Introduction
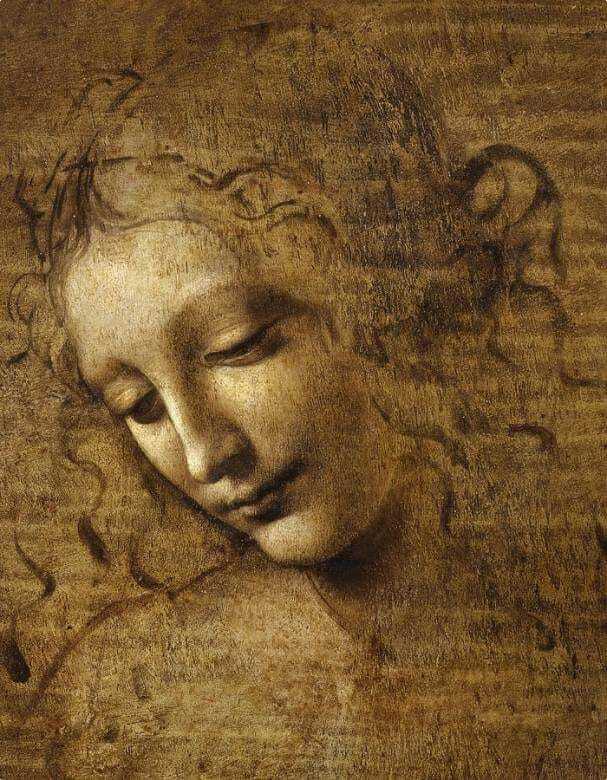
Have you ever wondered how to recreate the timeless, atmospheric style of Leonardo da Vinci?
In this guide, I’ll walk you through my personal step-by-step process of creating a drawing inspired by his technique. This is not just theory — it’s based on real practice, including materials, layering, and subtle techniques that give your artwork that classic aged, Renaissance look.
By the end of this article, you’ll know exactly how to:
- Prepare your paper like an old manuscript
- Build soft, smoky shading (sfumato effect)
- Layer graphite for depth and realism
- Add highlights and final details like a master
What Makes Leonardo da Vinci’s Style Unique?
Before we start, it's important to understand a few key characteristics:
Core Elements of the Style
- Soft transitions (sfumato) instead of harsh lines
- Warm, aged tones (sepia-like color palette)
- Layered shading for depth
- Subtle highlights and shadows
- Atmospheric perspective
Materials You’ll Need
Here are the essential tools I personally used:
Drawing Tools
Paper & Texture
Coloring & Effects
Erasers
Tools & Technique
Drawing Tools
- Mechanical pencils (HB, 2B, 4B)
- Pencil sharpener
- Soft brush (for blending)
- Sponge
Paper & Texture
- Thick paper (preferably textured)
Coloring & Effects
- Sepia ink or fluid acrylic (e.g. Golden High Flow Acrylic Sepia)
- Gelatin (mixed with water)
Erasers
- Standard eraser
- Kneaded eraser (soft, moldable)
- White pencil (for highlights)
- Fixative spray
Tools & Technique
- Projector
Here are the essential tools I personally used:
Drawing Tools
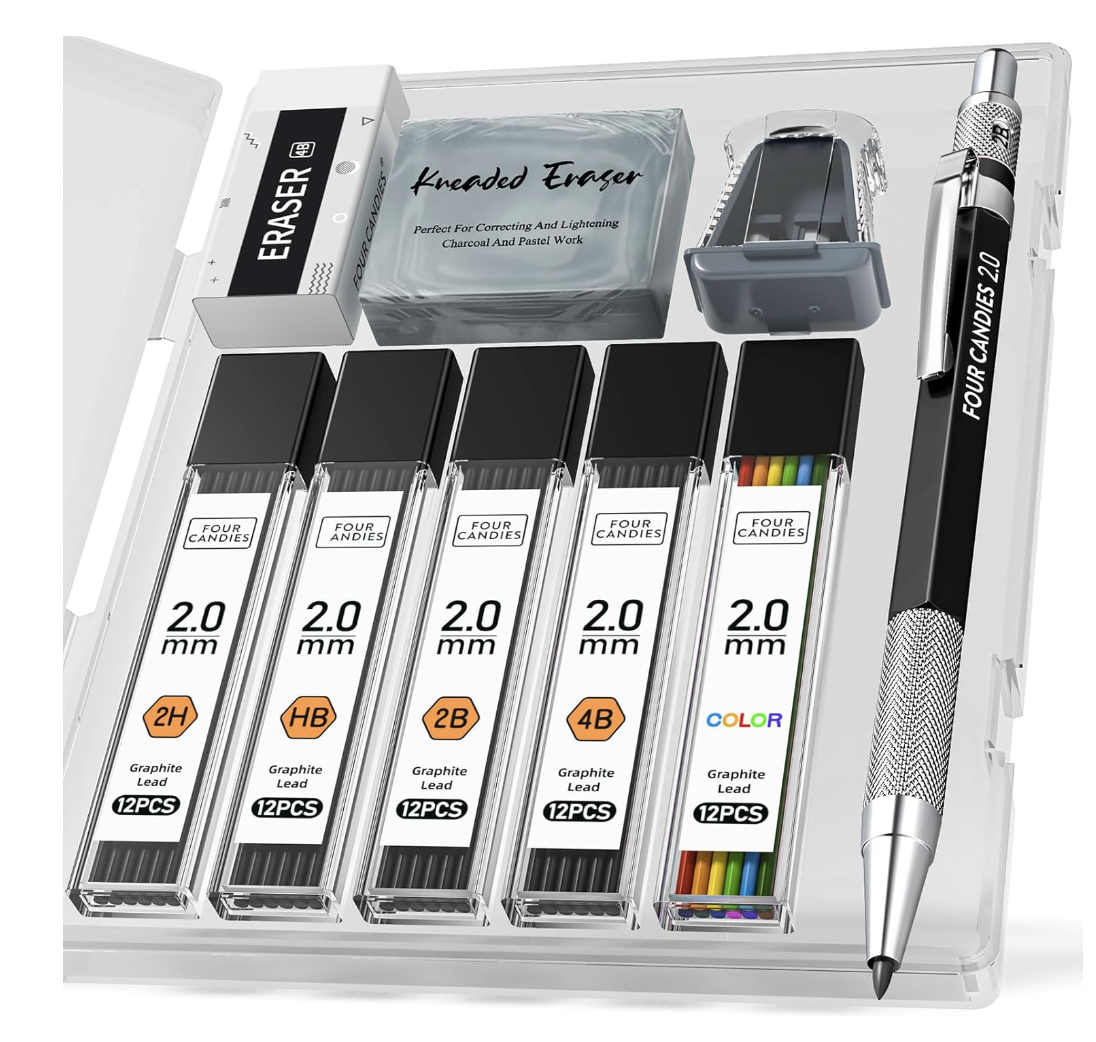
Four Candies 2MM Mechanical Pencil Set with case, Artist Led Pencil Metal Lead Holder with 60PCS Graphite Lead Refill (HB, 2H, 2B, 4B, Color) Kneaded Eraser, Sharpener for Writing, Drawing, Sketching
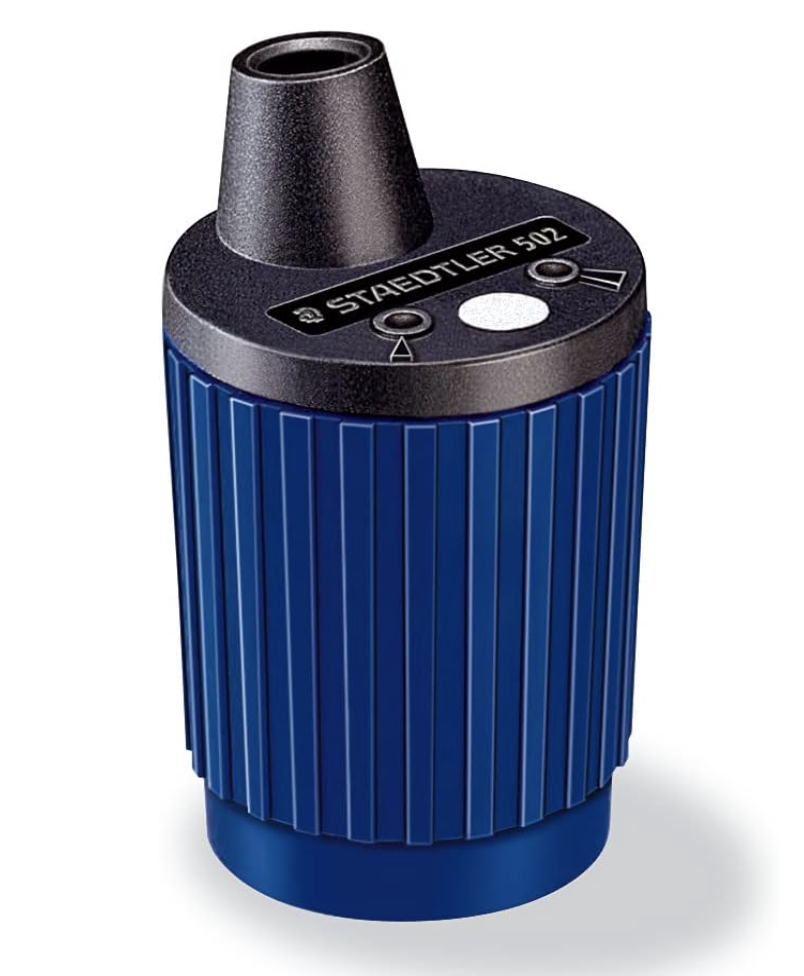
Staedtler Mars Technico Lead Sharpener (502)
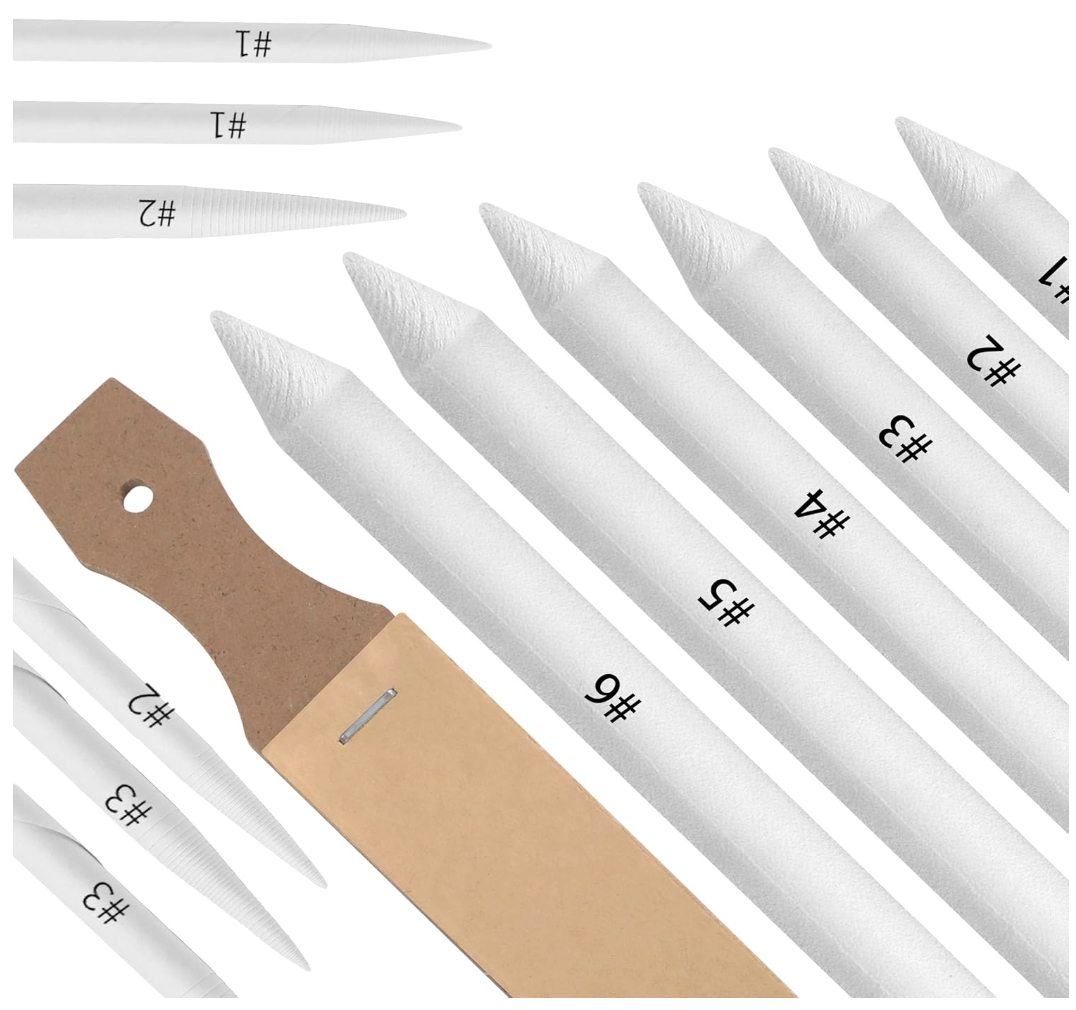
Jeimier 12 Pcs Blending Stumps for Drawing, Tortillions Blending Sticks for Beginner Drawing, Art Blenders, Blending Tools Paper Stumps for Shading Completed, Blending Pencil for Sketching, Softness

KALOUR White Charcoal Pencils Drawing Set, Professional 6 Pieces White Sketch Pencils for Drawing, Sketching, Shading, Blending, Chalk for Beginners & Artists
Paper & Texture
Sepia ink or fluid acrylic (e.g. Golden High Flow Acrylic Sepia)
Gelatin (mixed with water)
Gelatin (mixed with water)
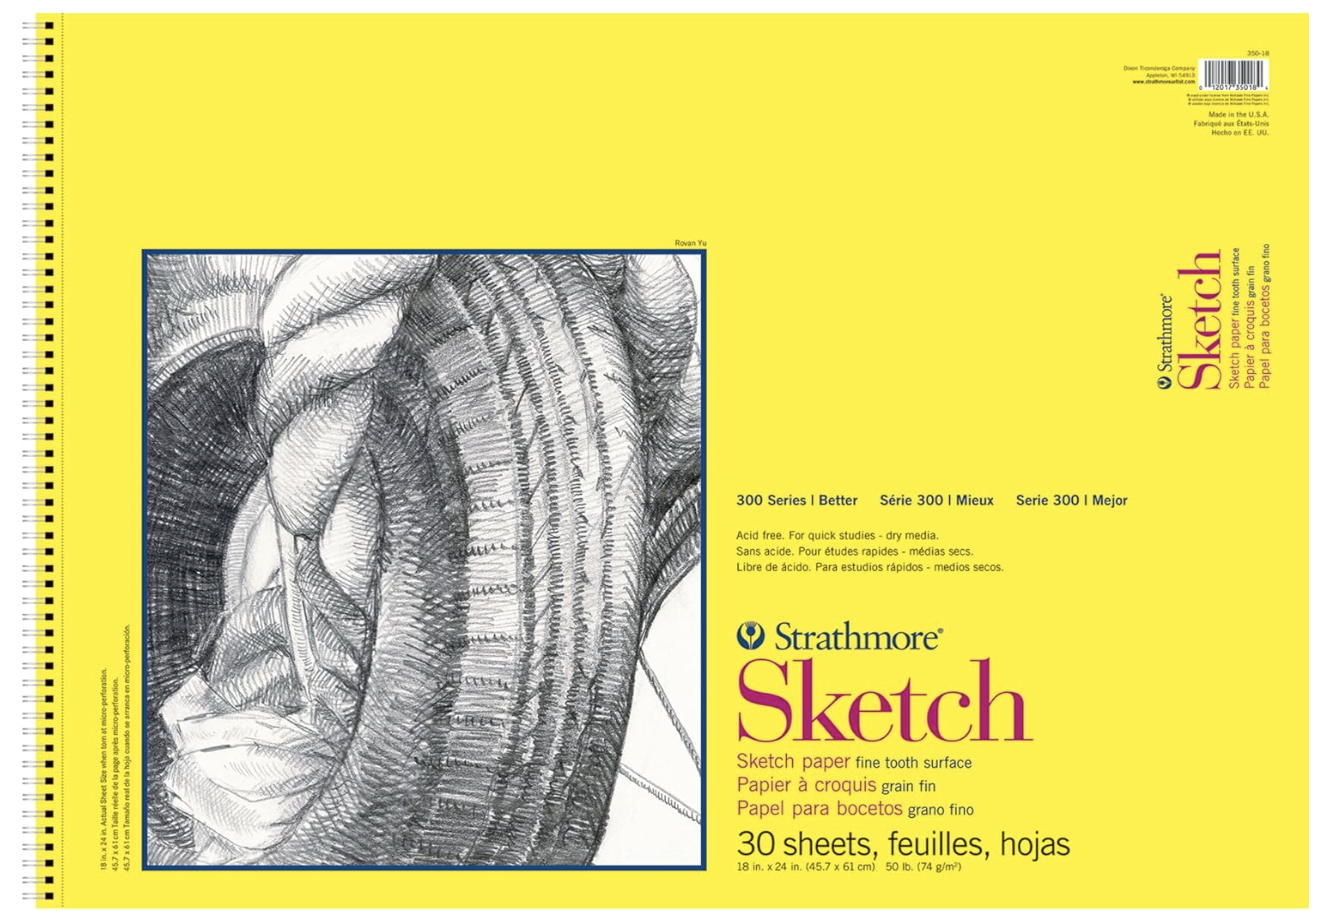
Strathmore 300 Series Sketch Pad, 18x24 inch, 30 Sheets, Side Wire - Artist Sketchbook for Drawing, Illustration, Art Class Students

GOLDEN High Flow Acrylics, Sepia, 1 fl. oz. Bottle, Professional Acrylic Paint, Semi-Transparent
Knox Original Unflavored Gelatine, 4 ct. Packets
Erasers
- Standard eraser
- Kneaded eraser (soft, moldable)
- Pencil erasers

Eraser Pencil Set-4pcs,Erasing Small Details or add Highlights for Sketching, Charcoal Drawings,Perfect for coloured illustrations,For Artists Eraser Pencils for Drawing
Finishing
- White pencil (for highlights)
- Fixative spray
Krylon K01309 Gallery Series Artist and Clear Coatings Aerosol, 11-Ounce, UV-Resistant Matte Spray Paint, 11 ounce, 11 Oz
Tools & Technique

Bluetooth Projector with Speaker, 9500 Lumens Outdoor Portable Movie Mini Projector Compatible with Laptop, Smartphone, TV Stick, Xbox, PS5
Step 1: Create an Aged Paper Effect
This is one of the most important steps.
What I Did:
- I took thick paper.
- Rubbed graphite on sandpaper to create fine graphite powder.
- Applied the powder around the edges of the paper.
Then:
- Mixed gelatin with water
- Let it sit briefly
- Added 5–6 drops of sepia acrylic
The result should be:
- A medium brown, semi-transparent liquid
- Not too thick — closer to water than paint
Application:
- Use a slightly damp sponge (not too wet!)
- Apply in soft, controlled strokes
- First in one direction, then lightly across
✔ This gently smudges the graphite and creates a natural antique effect
Let it dry completely.
Step 2: Sketch the Base Drawing
Once the paper is dry:
💡 Tip: Don’t focus on details yet — just structure.
- Use a 2B mechanical pencil
- Lightly sketch the entire composition
💡 Tip: Don’t focus on details yet — just structure.
Step 3: Blend for Atmospheric Perspective
This is where the magic starts.
Process:
This creates:
Process:
- Take a soft brush
- Gently blend the graphite
This creates:
- Soft transitions
- Depth
- That signature sfumato effect
Step 4: Build Layers (Key Technique)
Now we start layering — this is crucial.
My Method:
Repeat this process 3–4 times, gently go over the entire drawing with a soft brush to blend and unify all the tones.
✔ Each layer adds depth
✔ Avoid rushing — subtlety is everything
My Method:
- Draw the full structure
- Blend
- Add shadows
- Blend again
Repeat this process 3–4 times, gently go over the entire drawing with a soft brush to blend and unify all the tones.
✔ Each layer adds depth
✔ Avoid rushing — subtlety is everything
Step 5: Add Shadows and Depth
Now focus on:
Blend after each pass to keep everything soft.
- Darker areas (use 2B → 4B pencils)
- Gradual transitions
Blend after each pass to keep everything soft.
Step 6: Refine Details
After the layers are built:
Keep everything soft — no harsh outlines
- Redraw important lines
- Define facial features, folds, textures
Keep everything soft — no harsh outlines
Step 7: Use Erasers for Light
After the layers are built:
Keep everything soft — no harsh outlines
- Redraw important lines
- Define facial features, folds, textures
Keep everything soft — no harsh outlines
This step is often overlooked — but it’s essential.
Tools:
What to do:
✔ This is how you “draw with light”
Tools:
- Standard eraser
- Kneaded eraser (soft, moldable)
What to do:
- Lift graphite to create light areas
- Shape highlights naturally
✔ This is how you “draw with light”
Step 8: Final Touches
Now bring the drawing to life:
Add Contrast:
Add Highlights:
Add Contrast:
- Use 4B pencil for the darkest areas
Add Highlights:
- Use a white pencil for:
- Light reflections
- Final accents
Step 9: Fix the Drawing
Finish your artwork with:
✔ Protects your drawing
✔ Prevents smudging
- A fixative spray
✔ Protects your drawing
✔ Prevents smudging
Final Result
Here is the final drawing I created using this technique, inspired by the style of Leonardo da Vinci.
This process may look complex at first, but once you follow each step, you’ll see how naturally everything comes together. With patience and layering, you can achieve the same soft, atmospheric effect in your own work.
You can absolutely create a result like this too — just trust the process and take your time.

Practical Tips from My Experience
- Always work in layers, not in one go
- Keep your sponge damp, not wet, not dry.
- Don’t overdo sepia — subtlety looks more authentic
- Blend gently — avoid harsh pressure.
- One important tip from my experience is to always prepare at least two sheets of paper treated with graphite powder.
When applying the sepia-water mixture, the result doesn’t always turn out perfectly smooth on the first try. Sometimes the texture may look uneven or too dark in certain areas.
That’s why I often:
- Prepare 2–3 sheets in advance
- Apply the same technique to each one
- Choose the best final result
This approach gives you more control and increases your chances of achieving a:
- Smooth
- Even
- Soft
- Professional-looking result
Precision Matters: How I Achieve Accuracy
When working in the style of Leonardo da Vinci, small details make a huge difference.
As an artist, it’s essential to carefully build every element — proportions, lines, shadows — everything must be thoughtfully constructed. This level of precision is what creates a truly refined and realistic result.
Today, the art world moves fast, and many people want quick results. To maintain both speed and accuracy, I use a projector as part of my process.
My Workflow:
This method allows me to:
Why a Projector Helps
Using a projector makes it easier to:
✔ It’s not about “cheating” — it’s about working smarter and improving your final result.
As an artist, it’s essential to carefully build every element — proportions, lines, shadows — everything must be thoughtfully constructed. This level of precision is what creates a truly refined and realistic result.
Today, the art world moves fast, and many people want quick results. To maintain both speed and accuracy, I use a projector as part of my process.
My Workflow:
- I use my iPad with the Procreate app
- Overlay reference images
- Constantly compare and adjust proportions
- Refine lines until they are as accurate as possible
This method allows me to:
- Save time
- Improve accuracy
- Achieve a more professional result
Why a Projector Helps
Using a projector makes it easier to:
- Transfer proportions correctly
- Avoid structural mistakes
- Focus more on shading and artistic expression
✔ It’s not about “cheating” — it’s about working smarter and improving your final result.
Recommended Materials (Shop All at Once)
Add all materials to basket on Amazon>>>
FAQ
What is a kneaded eraser?
A kneaded eraser is a soft, flexible eraser used to lighten graphite and create highlights without damaging the paper.
Why coat the paper with gelatin?
Gelatin helps create a subtle protective layer on the paper, allowing pigments and graphite to sit more evenly on the surface. It also enhances the aged effect, improves blending, and prevents the paper from absorbing too much moisture, which keeps the texture smooth and controlled.
Why use sepia?
Sepia creates a warm, antique tone, similar to old Renaissance drawings.
Can sepia be replaced with regular acrylic paint?
Yes, it is possible to replace sepia with regular acrylic paint. However, you will need to mix a color that closely matches the sepia tone.
This can be a bit challenging, as achieving the exact warm, translucent sepia оттенок requires careful color mixing. For this reason, it is often much easier and more efficient to use ready-made sepia.
Using a pre-made sepia helps you:
When working in the style of Leonardo da Vinci, consistency in tone is especially important.
This can be a bit challenging, as achieving the exact warm, translucent sepia оттенок requires careful color mixing. For this reason, it is often much easier and more efficient to use ready-made sepia.
Using a pre-made sepia helps you:
- Save time
- Achieve consistent color results
- Maintain the authentic, aged effect
When working in the style of Leonardo da Vinci, consistency in tone is especially important.
Can beginners try this technique?
Yes — this method is very beginner-friendly if you follow the steps slowly.
How many layers should I do?
Usually 3–4 layers are enough to achieve depth and softness.
Conclusion
Creating a drawing in the style of Leonardo da Vinci is not about copying — it’s about understanding light, atmosphere, and subtle transitions.
By preparing your surface, working in layers, and blending carefully, you can achieve a beautifully soft, timeless result.
By preparing your surface, working in layers, and blending carefully, you can achieve a beautifully soft, timeless result.
Creating a drawing in the style of Leonardo da Vinci is about patience, layering, and attention to subtle details. By carefully building tones, using soft transitions, and refining every element, you can achieve a timeless, atmospheric result.
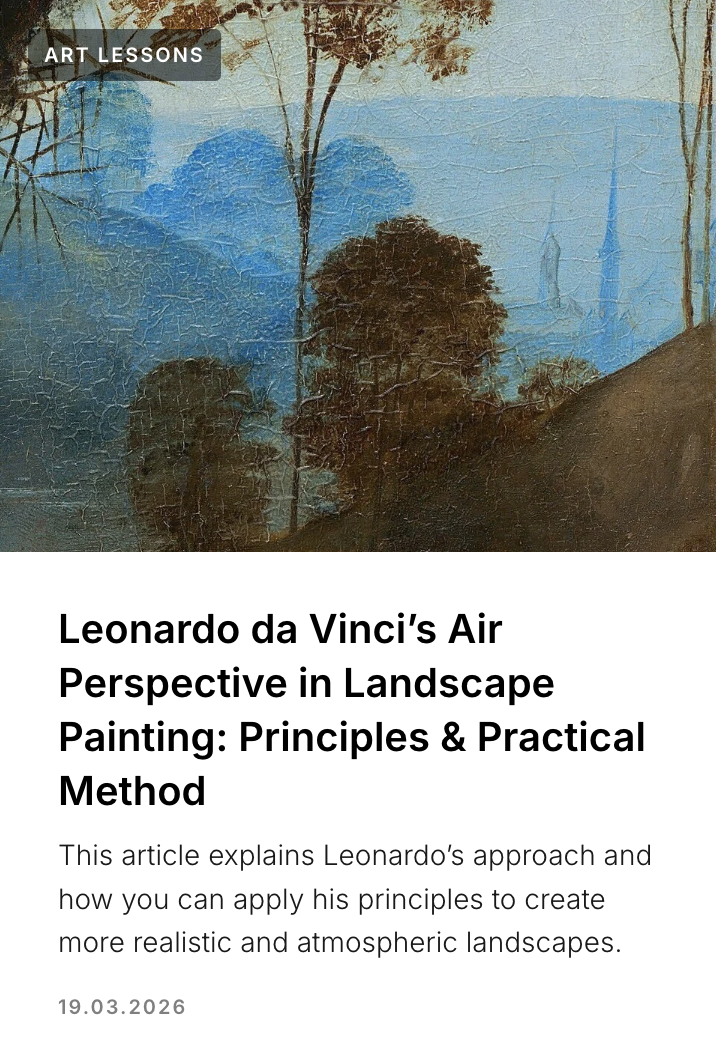
If you want to go deeper into the techniques behind this style, read also on my website:
If you want to go deeper into the techniques behind this style, read also on my website:
“Leonardo da Vinci’s Air Perspective in Landscape Painting: Principles & Practical Method.”
Final Note
If you try this technique, I’d love to see your results.
Follow me on Instagram and share your artwork — I’d be happy to feature your work!
Follow me on Instagram and share your artwork — I’d be happy to feature your work!
